Introduction
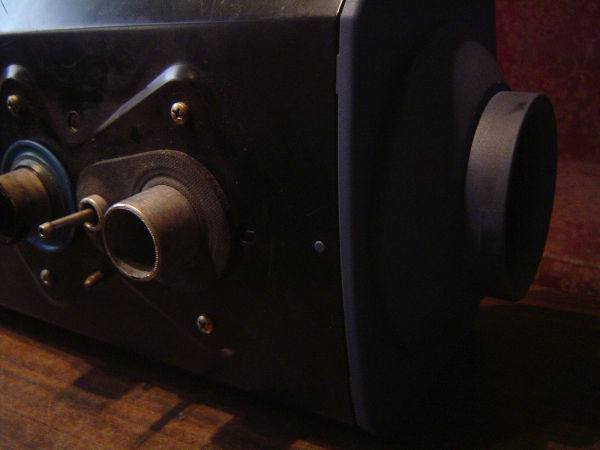
Here we have a fine specimen of the Webasto diesel heater family, a unit of some age, no longer in production, grandfather of AirTop 2000 and a respectable chap all the way. Needs its clean air fans’ bearings replaced.
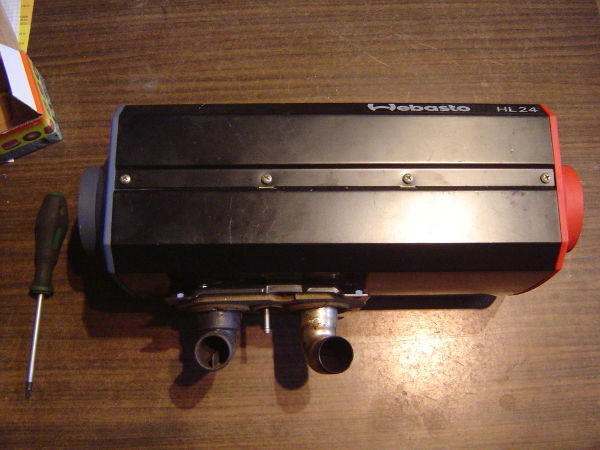
This here will be a guide on performing service on a seemingly unserviceable part.
Getting to the first bearing
Remove the top.
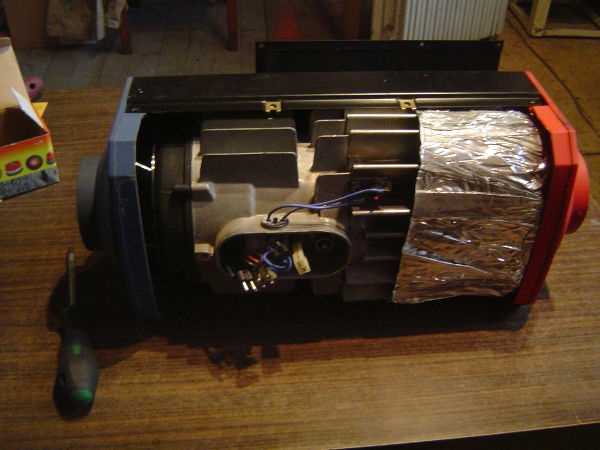
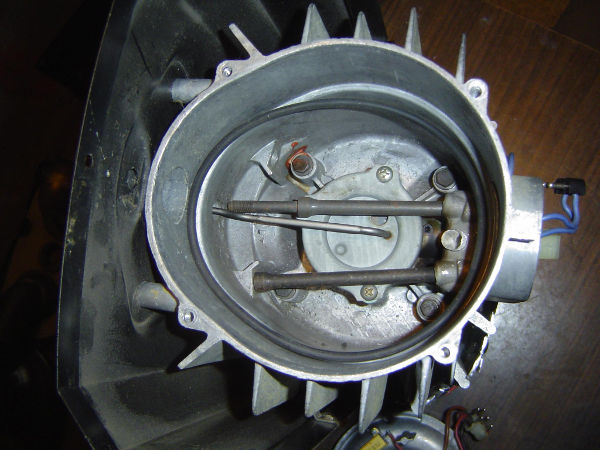
Take a look at the bottom.
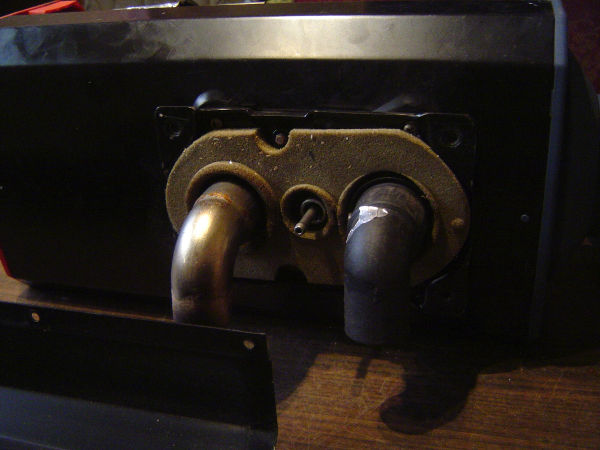
It is held by two long screws on the top, they need an allen key.
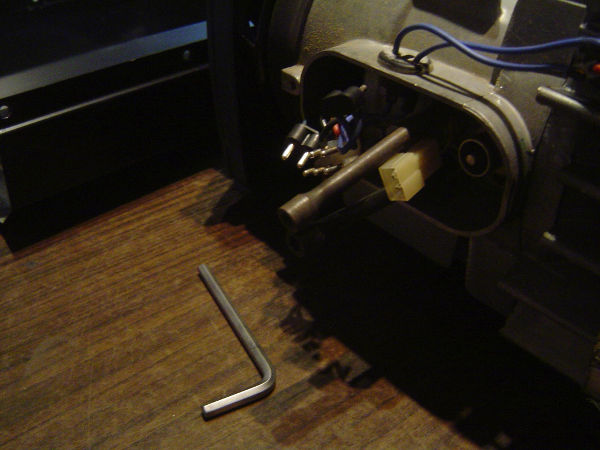
Cold air intake cover has a protruding that keeps it attached to the metal case.
Intake fan is secured with a clip. Gently pull to remove.
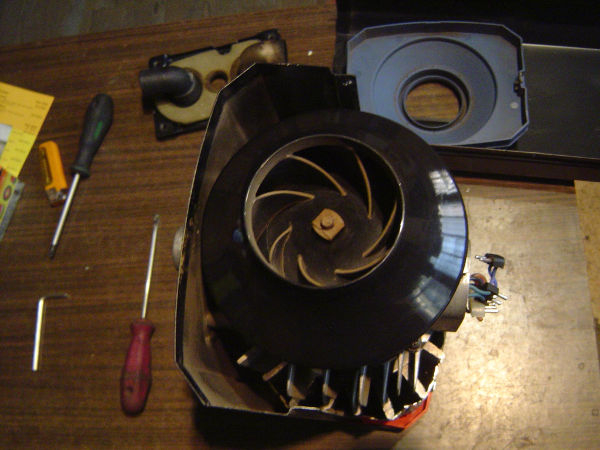
Unscrew 4 screws to remove the motor’s outer plastic cover. Don’t tear the o-ring inside. Don’t lose it either.
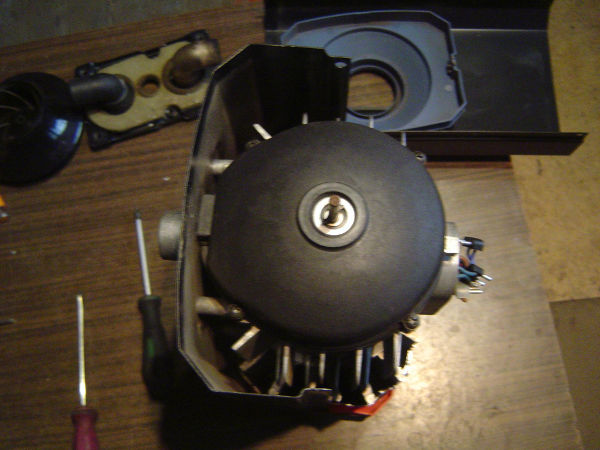
The cover has a switch to prevent operation without the cover. It is connected with two blue wires.
The motor has another o-ring.
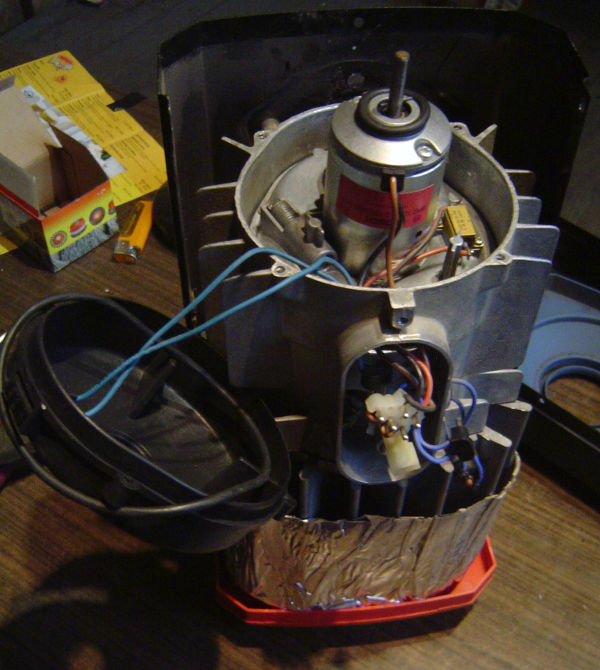
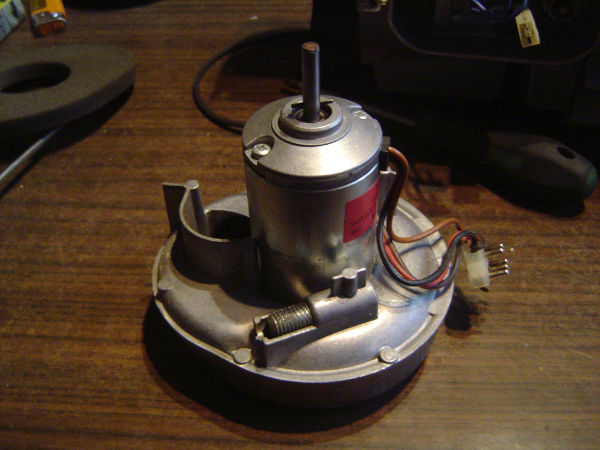
Take the motor and inner fan assembly out. Inspect the o-ring.
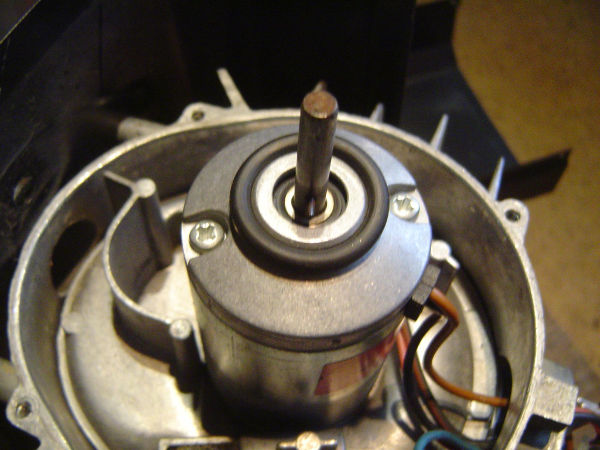
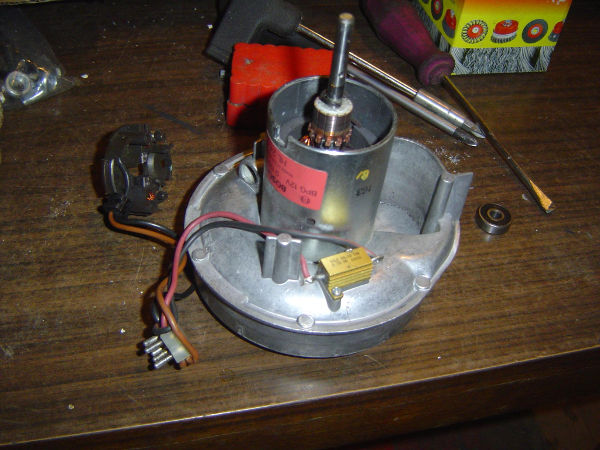
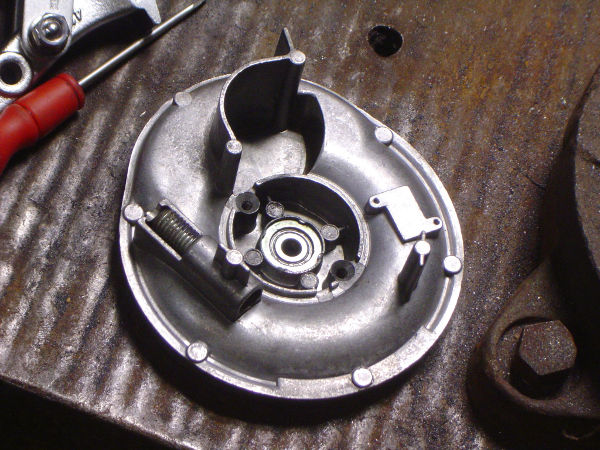
Unscrew the motor’s cover.
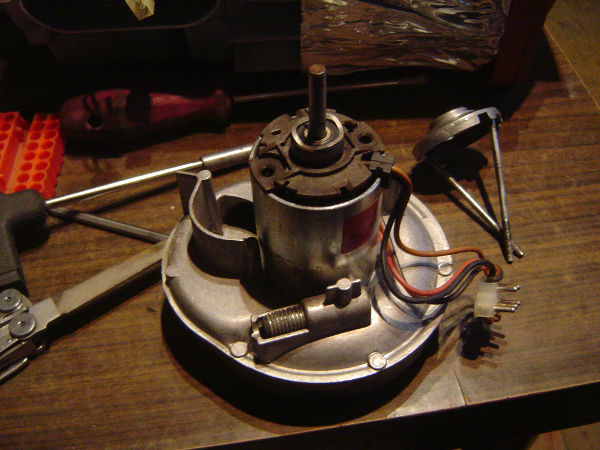
Remove the first bearing.
I didn’t have a bearing puller this small, so I went and bought the smallest they had. Then, I cut out a C-shaped piece of sheet metal (1 mm) to be inserted under the bearing and pulled against. Don’t try to triforce, you’ll break the stator mount (brown).
Getting to the second bearing
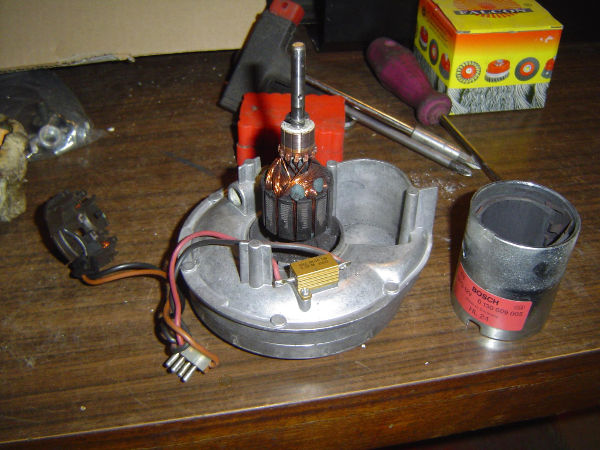
Pull out the aforementioned.
Pull off the motor shell.
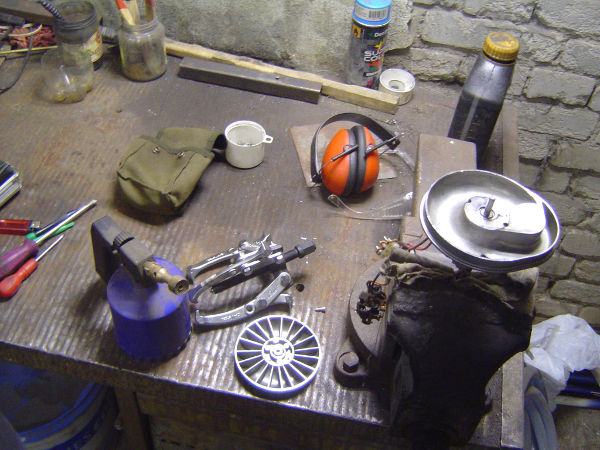
Now, put the remaining assembly in a vice. Start slowly heating the inner fan (around the rotor shaft) with a hand-held burner (or anything similarly low-powered). Pry the fan off bit by bit – it is best to have a few spare hands.
When the spacing becomes wide enough, carefully remove it with a bearing puller. The aluminum alloy is brittle, so if any force is involved, stop pulling and apply more heat around the shaft.
Given time and patience, the fan will come off.
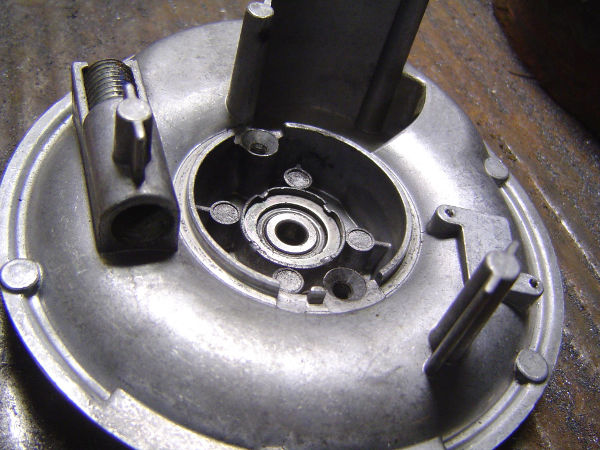
The bearing will become visible.
Using same bearing puller and discretion, it is possible to push out the rotor shaft.
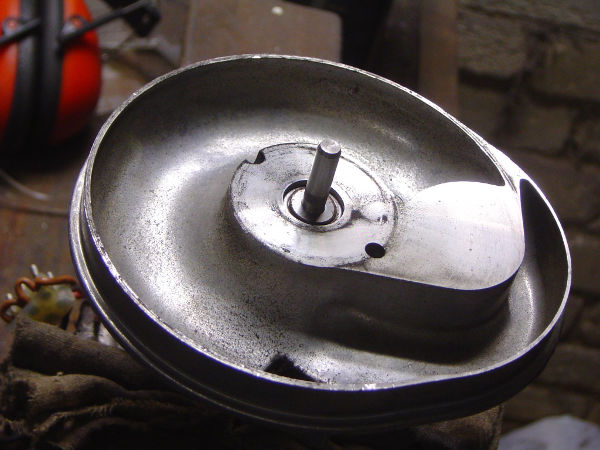
To remove the bearing, the four “lips” have to be broken off. The alloy is too brittle.
Remainder
Replace second bearing. Gently push in the metal at the broken-off corners to form new “lips”.
As to everything else, follow the above backwards. Replace seals and o-rings (yeah, right).