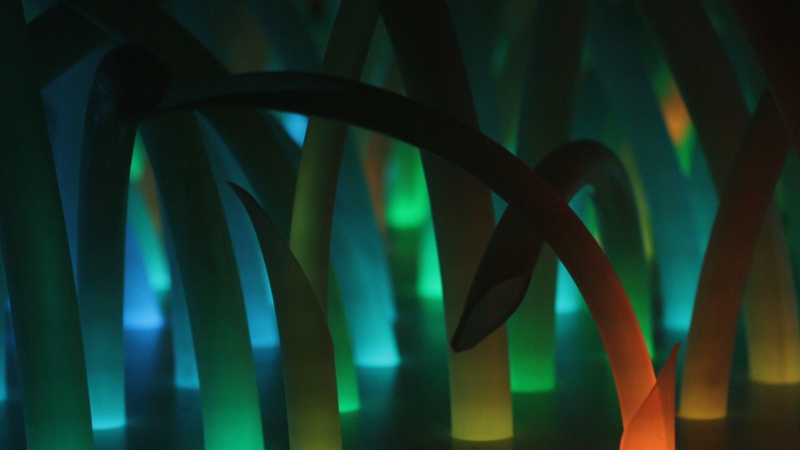
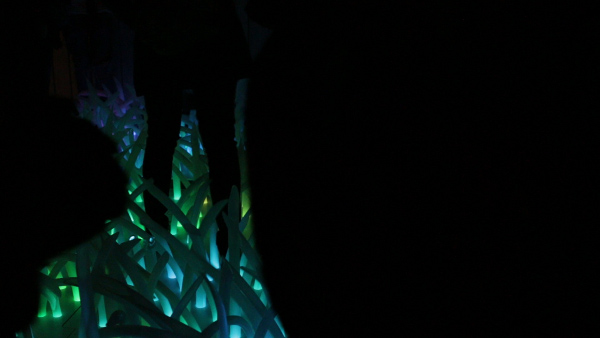
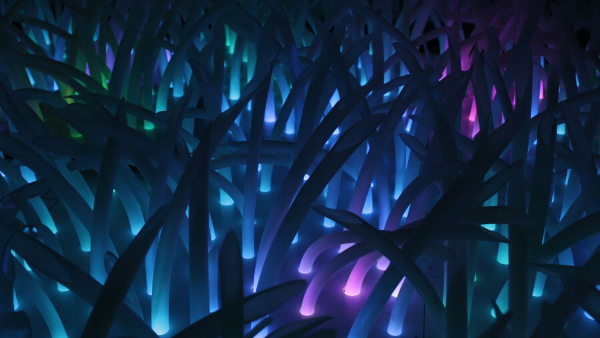
Once Ieva had a dream. She dreamt of a white meadow. Then she started researching materials and discovered silicone - it’s surprisingly robust, can handle wear and tear and the light cast on it gets diffused smoothly, creating a somewhat alien effect. We talked a bit about light source options, settled on addressable RGB LEDs as this made wiring and controlling them simple and forgot about this idea completely until a couple of months later the Burning Man festival responded that they would accept and support the installation this year. Wow. Here we go.
Now we need your help to bring this thing to USA, please donate! Also, you can have a piece of the meadow for yourself!
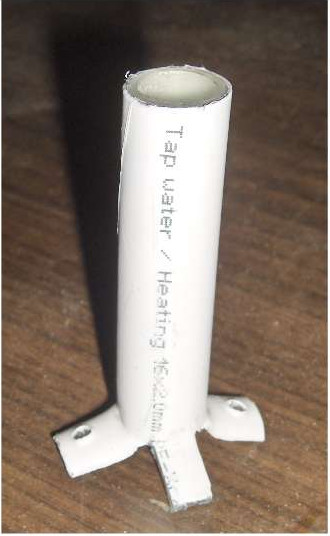
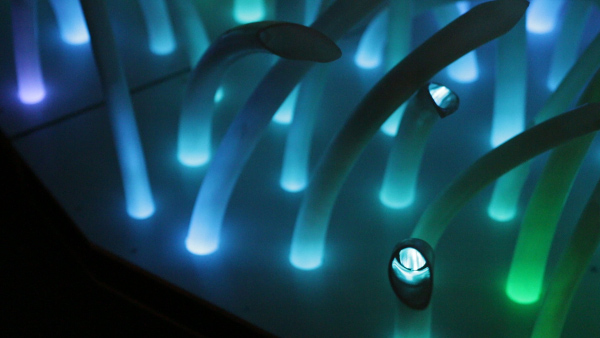
How does one attaches a silicone hose to plywood? You can’t really cut the hose lengthwise and nail it down as this makes it vulnerable to tear, so we needed some kind of a custom holder. We considered brass tube fittings, but those are expensive and heavy. pwf quickly came up with this dumb and dirty prototype.
It was clear that the work required to make 1k of these (we have settled on ~1k LEDs/tubes/pixels in total) will be boring as hell, so pwf made a bold decision and bought a 3D printer. He has made several design iterations until we settled on this final design.
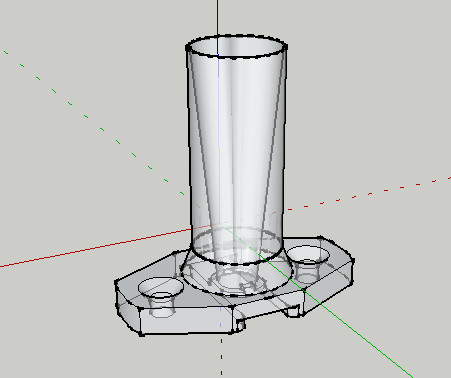
It has a conical shape that in combination with the reflective spray-paint directs LED light into the tube, a channel to clip the wire and even some place for 0603 capacitor that is on the LED board. Well, printing 1k of those was a hell of a ride, but now we have some ideas about how to make large-scale 3D-printing a bit more feasible.
at the end we called them “mushrooms”
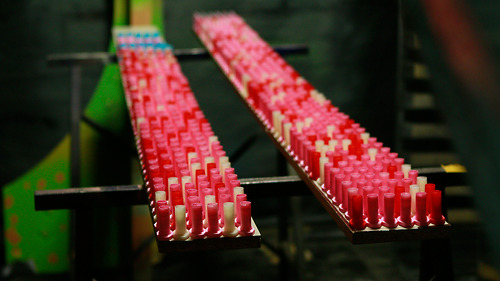
The whole meadow is composed of 16 sections (now we have 9, but we will get there). The sections are made of plywood with holes for the hoses drilled and carefully routed.
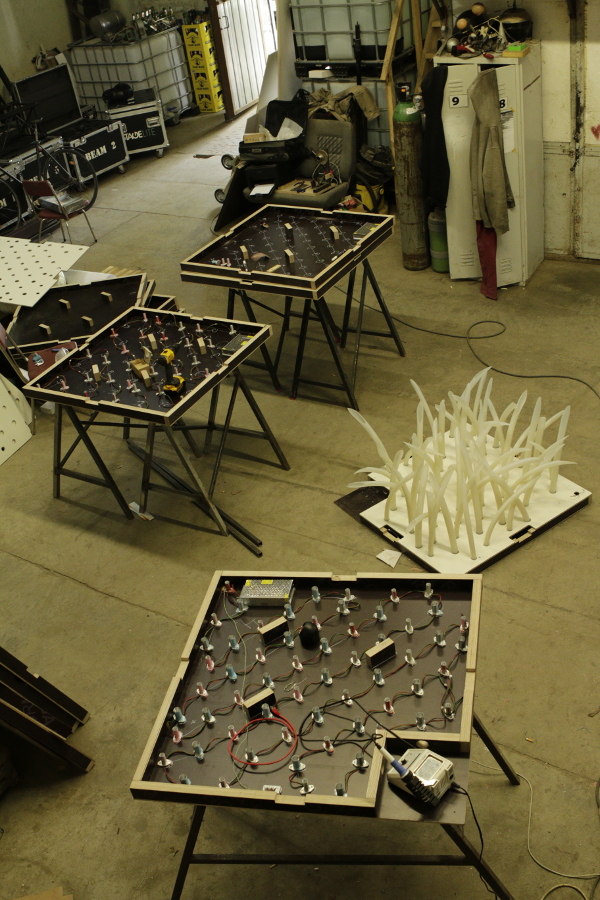
Each section has a cutout on every side for easy cabling. Each cutout has a cover. dinama, ursus and Kipras have made these and attached a lot of “mushrooms”, each with two screws, while Ieva and goku cut, stripped and tinned wires and soldered 1k of LEDs, 6 connections each.
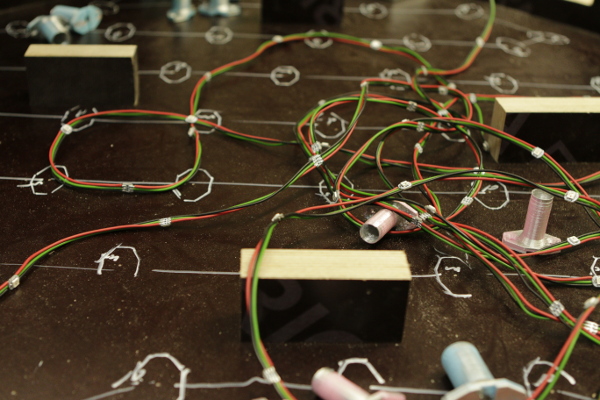
We’ve considered connecting segments with short UTP patch-cables, but that would require expensive connectors we couldn’t afford. Instead we decided to wire point-to-point from the central pannel. UTP cable is abundant and cheap, we didn’t even had to buy it - veox still had a bundle that probably came from some forgotten shelf in my former office. The sections have these bottom-of-the-foodchain wall mountable cheap-ass RJ45 sockets. Some better than anothers.
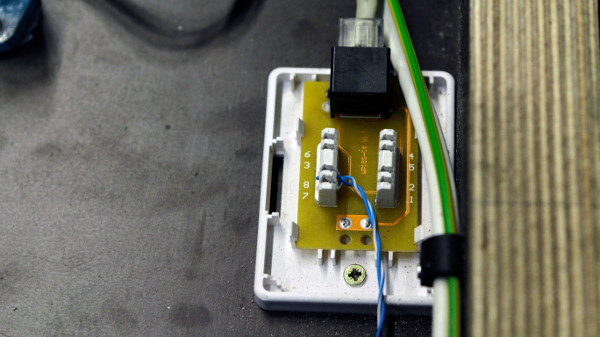
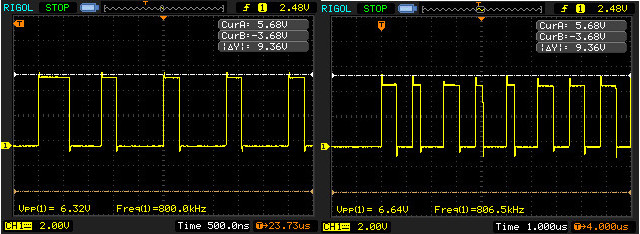
Anyway, signal after the socket looked ok-ish. Then I run a single twisted pair to the first LED and it got worse there. In the picture below the left trace is the signal after RJ45 box, the right - signal at the first LED. Pretty high overshoot, but no ringing. Probably playing around with terminator resistor values could help, or the edge could be slowed down a bit, but I had no time to play with this yet.
I’m happy with the idea of using a patch panel as a base for control electronics though.
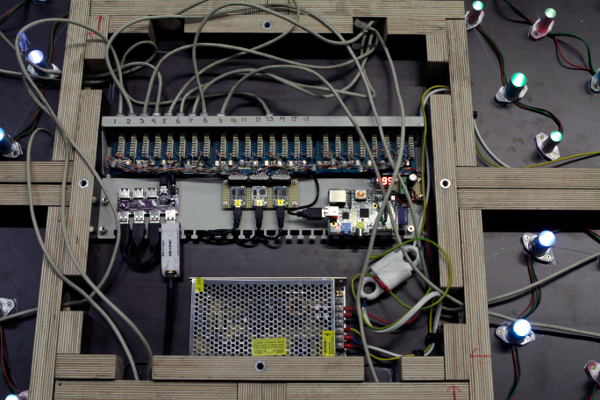
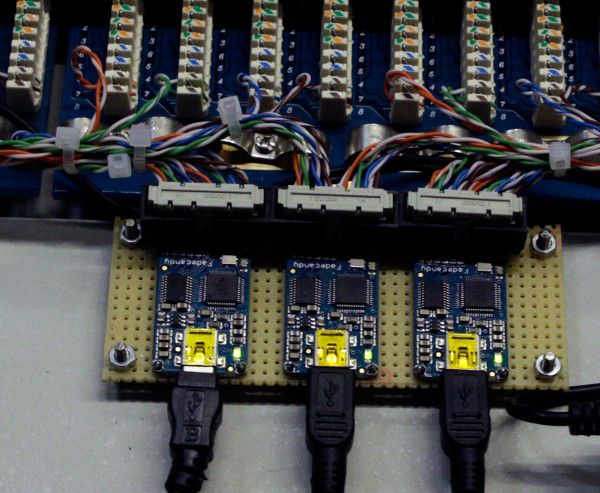
While researching the subject of controlling WS2812B LEDs I stumbled on Fadecandy - it’s a module with a quite capable microcontroller that is solely preocuppied with driving those LEDs via buffered and terminated output, achieving high color dynamic range. And it’s open source. You have to be crazy not to use it for any kind of project with WS2812B. Fadecandies accept data via USB. That had set the whole stack for the project - Fadecandy, Raspberry Pi, Linux, Python, some C. However, I’m standing on the shoulders of giants here - the author of Fadecandy, Micah, had wrote almost everything you need to do a LED installation.
We’ve used a multi-stranded UTP cable wire and IDC connectors to connect candies to the patch pannel.
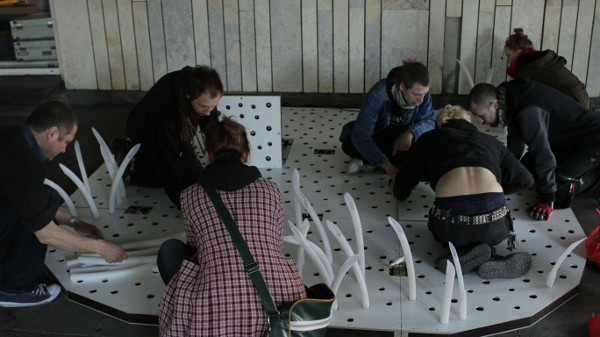
Here you can see part of the crew assembling the meadow for a live test.
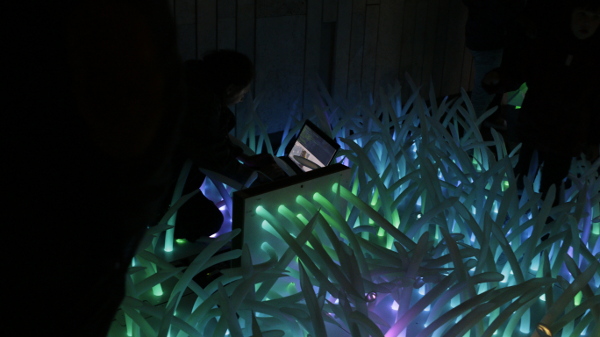
The code for our meadow is here: https://github.com/Technariumas/pieva. I’m running a couple of layers https://en.wikipedia.org/wiki/Perlin_noise on the pixels. Initially I’ve tried to imitate a windy meadow with the sun shining on it (imagine the Windows XP wallpaper), but in the end we settled for a trippy palette selected by opit. I’ve tried to work out a reusable way of mapping LEDs to pixels, but eventually this turned out to be kludgy anyway. For each different section I’m importing a path that connects all LEDs from a SVG file and noting relative distances between LEDs, then I put sections together specifying the coordinates of the first pixel for each section.
People have accepted the meadow surprisingly well. Kids instantly knew you can walk on it and the sight of elegant 50 year old women taking selfies while lying in the meadow - priceless!
Pictures and video by Urtė Sabutytė, also by pwf and Donis.